
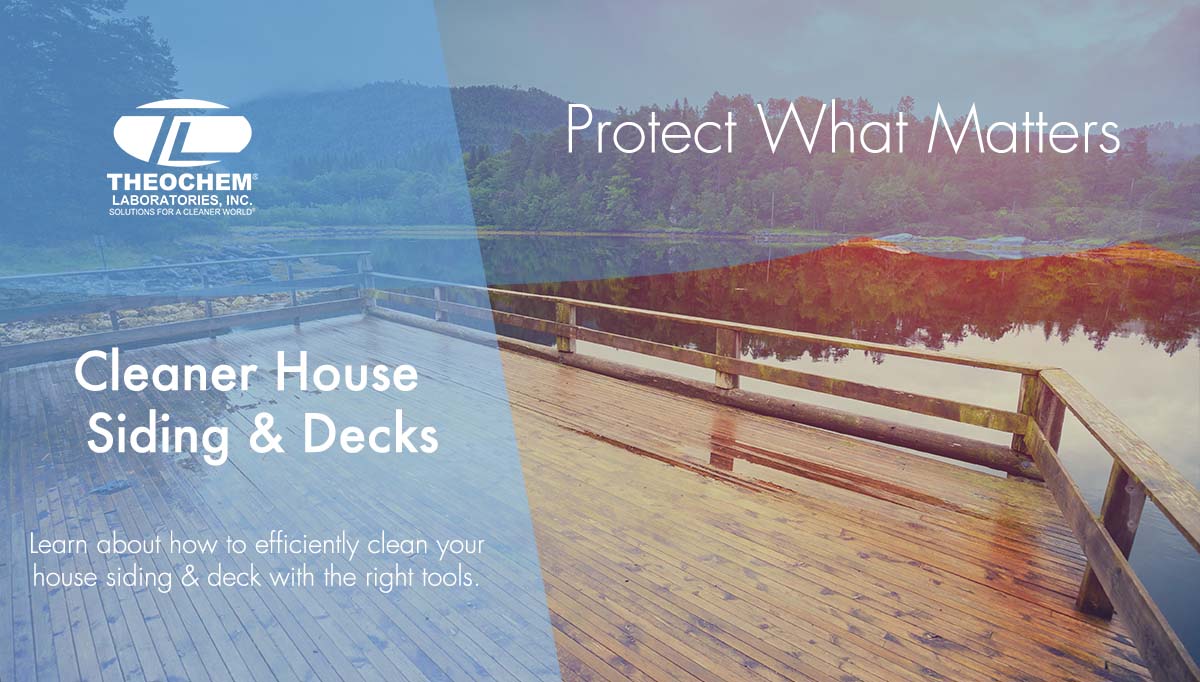
From coast to coast, we are now entering the warmer months of the year which means it’s time to get back to hosting friends and family over for summertime get-togethers. Before you can entertain company, you need to make sure your home’s exterior such as your house’s siding and the deck is free of dirt, grime, mildew, and more before your home is ready to entertain guests. No matter if those outdoor surfaces consist of vinyl, brick, stucco, aluminum, or wood, we will show you how to get the job done step by step.
This process is more than just splashing and spraying these surfaces. Pressure washing requires certain finesse so you’re not damaging your home’s exterior or causing injury to yourself. In this week’s blog, we will detail what you need to know from top to bottom on how to best prepare to detail those outdoor surfaces safely, so you can show off your home. Read below so you can see the proper steps and research you need to know before you get to work!
Safety First!
Before you start, make sure you don’t underestimate the difficulty involved with cleaning your home. Review these important safety tips below before you begin:
- If your home is taller than one story, consider hiring a professional, especially if you’re new to pressure washing. Keep in mind that in order to properly clean your home there may be some awkward angles you need to position yourself into in order to fully clean your home. If your home is a single-story home, the rest of this guide should be just what you need to get you through the entire process.
- You should be mindful when handling pressure washing equipment as they are powerful enough to penetrate skin or damage your eyes if aimed incorrectly. Wear appropriate eye protection to avoid flying debris, dirt, or projectiles from hurling toward your eyes and keeping them safe.
- Never use ladders when pressure washing because the recoil from pressure washing could knock you off it, resulting in serious injury. Even if you have someone holding the ladder in place, you can still be propelled from your ladder due to the strength of the pressure washer.
- Make sure all electrical outlets are covered so they do not get wet while you’re cleaning those outside areas.
- Lastly, before you’re ready to begin, make sure the weather isn’t too hot as the summer heat can dry the cleaning agents too quickly before you’re able to rinse them off properly.
Do You Have the Right Pressure Washer?
Not all pressure washers are created equal and different exterior surfaces require different levels of power so the pressure applied won’t damage your house siding. Pressure washing equipment is measured in pounds per square inch (psi). If you don’t know which pressure washer is right for your job, you can see The Best Electric Pressure Washers of 2022 listed here.
Once you have selected the pressure washing equipment right for the job, now you need to determine what the correct PSI for house siding and deck are. When focusing on those wooden decks, aluminum siding, or stucco siding, try to use 1,200 to 1,500 psi. When pressure washing brick, steel, stone, or vinyl siding, pressure washing machines with a psi between 2,500 and 3,00 are ideal for these types of surfaces. We don’t recommend pressure washing concrete but if you’re determined to do so, apply less than 1,500 psi with a wide nozzle and apply a concrete cleaner such as our Clean Shot Concrete & Driveway Cleaner.
Time to Wash Those Surfaces
Now that you have covered your initial bases of research, you can now begin pressure washing and eliminating your home’s built-up dirt.
- STEP 1: Seal Windows, Doors, and Areas You Don’t Want to Get Wet: Make sure areas such as exposed windows and doors are properly sealed with duct tape if they are prone to leaking and cover with waterproof plastic sheets. Make sure any other areas such as plants, gardens, and shrubbery are also covered with waterproof sheeting
- STEP 2: Get Your House Siding & Deck Solution Ready: Depending on if you’re doing light, normal, or heavy cleaning the dilution ratio may vary. Grab your Clean Shot House Siding & Deck Cleaner and mix as follows:
RECOMMENDED DILUTIONS:
Light Cleaning: Dilute 5-6 ounces of this product per 1 gallon of water
Normal Cleaning: Dilute 7-9 ounces of this product per 1 gallon of water
Heavy Cleaning: Dilute 10-12 ounces of this product per 1 gallon of water
- STEP 3: Set Up the Hose to Your Pressure Washer: Make sure your pressure washer is set up and ready once you’ve finished scrubbing. Locate where the hose mount is on your pressure washer and attach the garden hose to the mount while the other end of the hose is connected to the spigot outside of your home. If you’re focusing on a harder surface, use a 15-degree spray nozzle. Softer surfaces can use lower psi and a 25- or 30-degree nozzle
- STEP 4: From Bottom to Top, Spray and Scrub Siding: Using your Clean Shot House Siding & Deck Cleaner, spray a designated section of your home, starting from the bottom and working your way up. Gently scour the siding with a soft siding brush. Starting from the bottom is recommended because starting from the top will cause your suds to run down the wall faster which makes it harder to identify dirt that needs to be scrubbed off.
- STEP 5: Pressure Wash Test Scrubbed Area: Now that you’ve scrubbed the first test area, make sure you’ve given yourself a safe distance of 3 feet away from the wall to give yourself room for the nozzle to comfortable spray. Make sure your safety goggles are on to protect your eyes before you start the pressure washing process.
- STEP 6: Power Wash Scrubbed Section From Top to Bottom: Start power washing from the top of the area you just scrubbed so you’re efficiently cleaning and letting the water continuously run down to wash away years of built-up dirt and grime. If your home has gutters or overhangs, begin with those and clean them fully before you start working your way down.
- STEP 7: Repeat the Last 3 Steps Until Complete: Continue pressure washing your house siding or deck and repeat the last 3 steps in sections until you’ve completely washed every desired area. Once you’ve finished the pressure washing portion of the job, remove the waterproof sheeting and tape you applied in Step 1.
As you can now see, pressure washing consists of more than simply spraying your home with cleaning agents. There is a rhyme and reason to each of these steps that guarantee that your home will not only be much cleaner after this process but following these steps will also ensure your safety. We hope this informative step-by-step guide will give you the knowledge and confidence to effectively tackle your pressure washing tasks so you can enjoy your shimmering, sparkling home to show off to your guests just in time for the summer!
